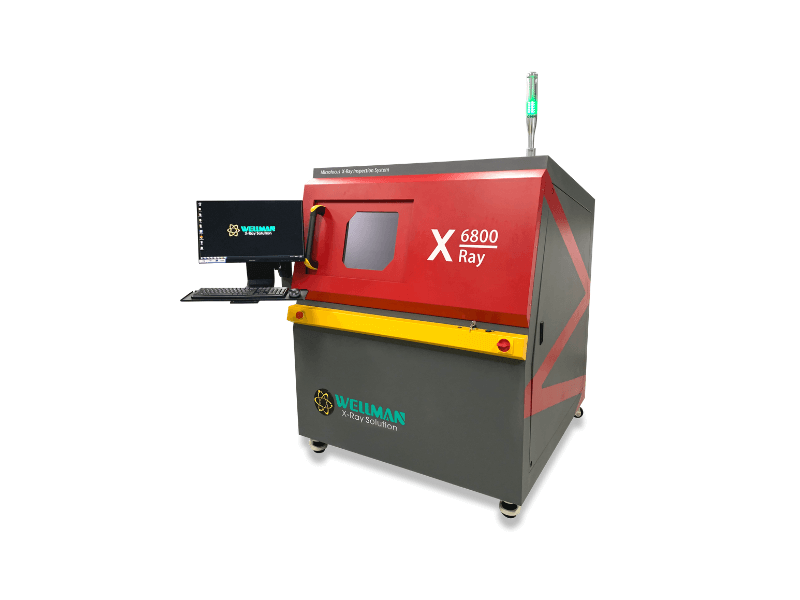
X6800 is one of our most advanced real-time x-ray inspection systems, it can be widely used in Non-destructive analysis of semiconductor, SMT, and electric component quality checking.
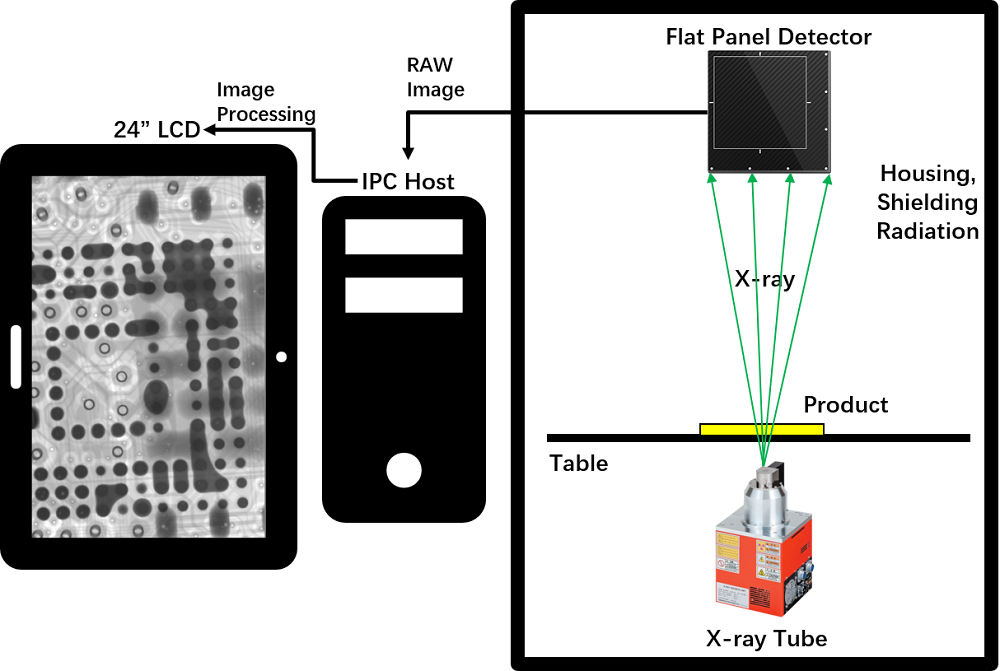
Working Principle
Application
BGA , CSP , Flip Chip, LED , Fuse, Diode, Sensors, PCB Voids
Semiconductor , Battery Industry , Small Metal Casting, Electronics Cables and Connectors, 3D Printing Module, Medical Device and Parts.
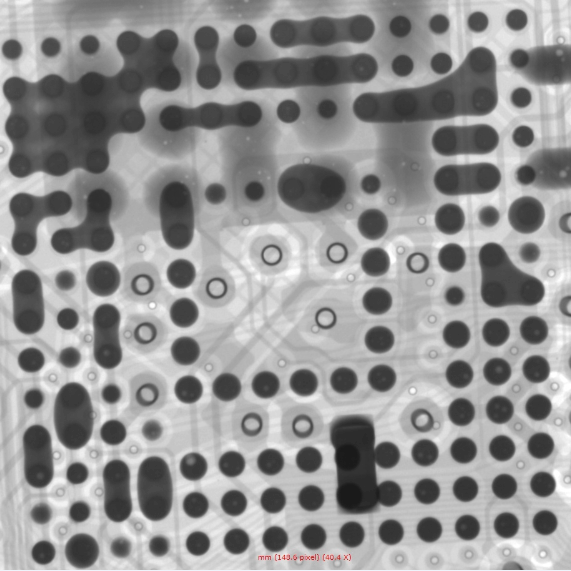
BGA Solder Bridge
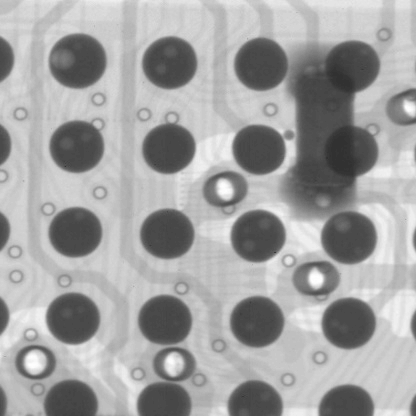
BGA Solder Voids
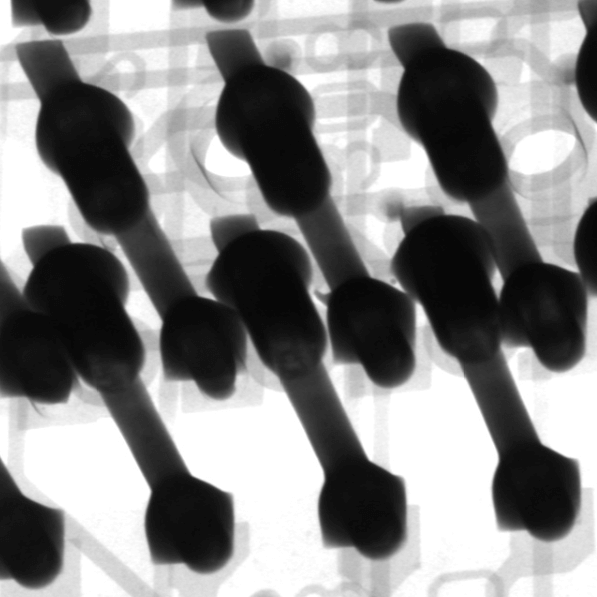
PCB Through-hole
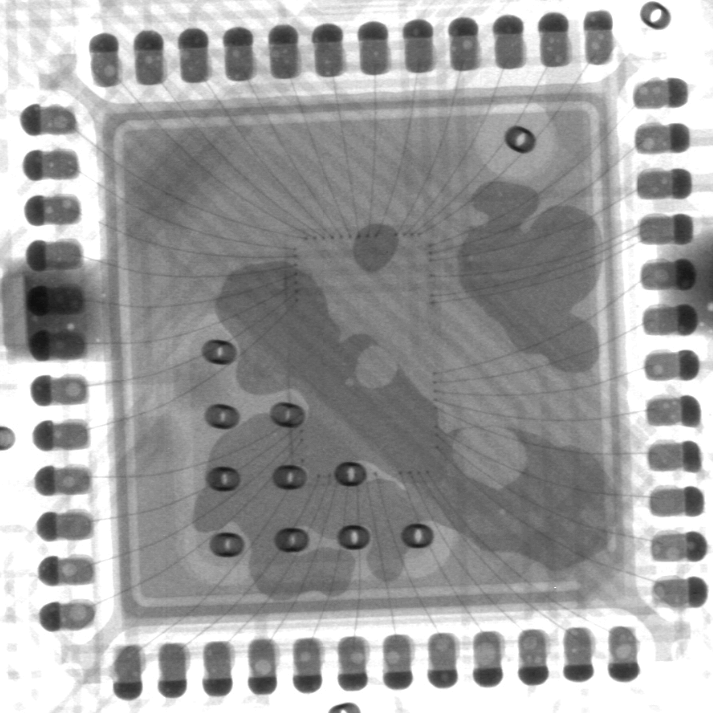
IC Voids and Gold Wire
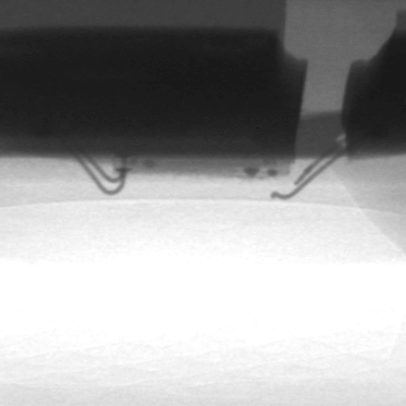
LED Gold Wire Crack
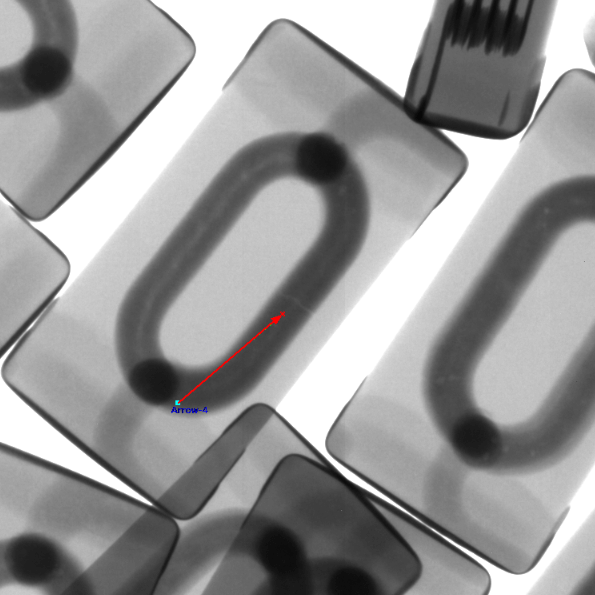
Inductor
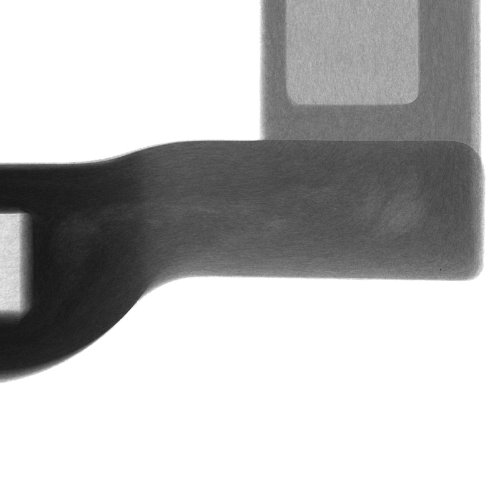
Fiberglass
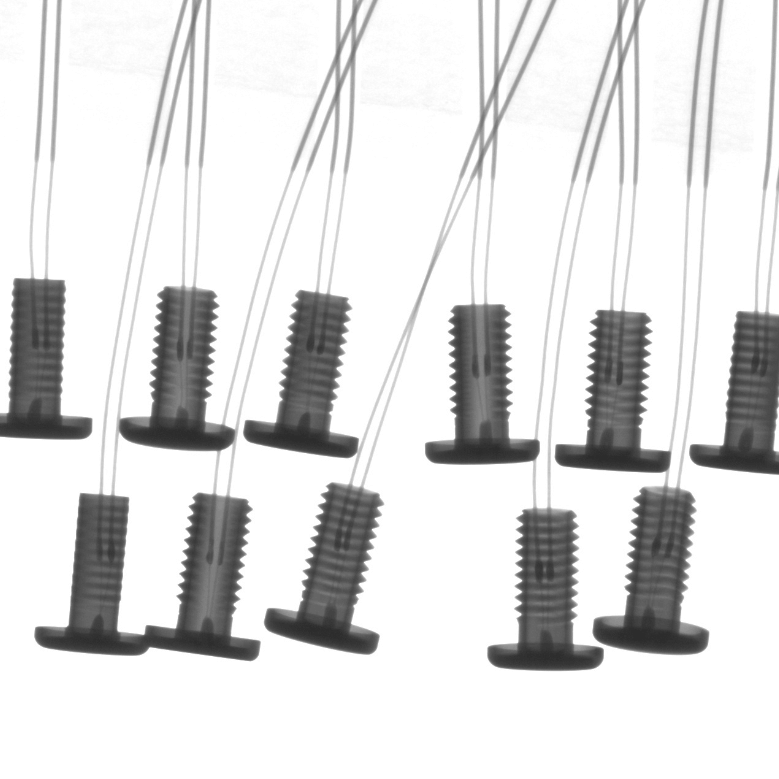
Diode
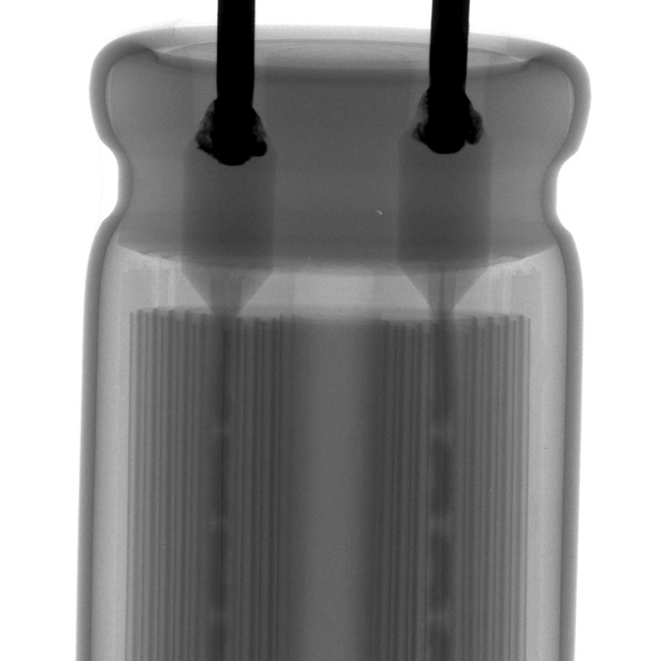
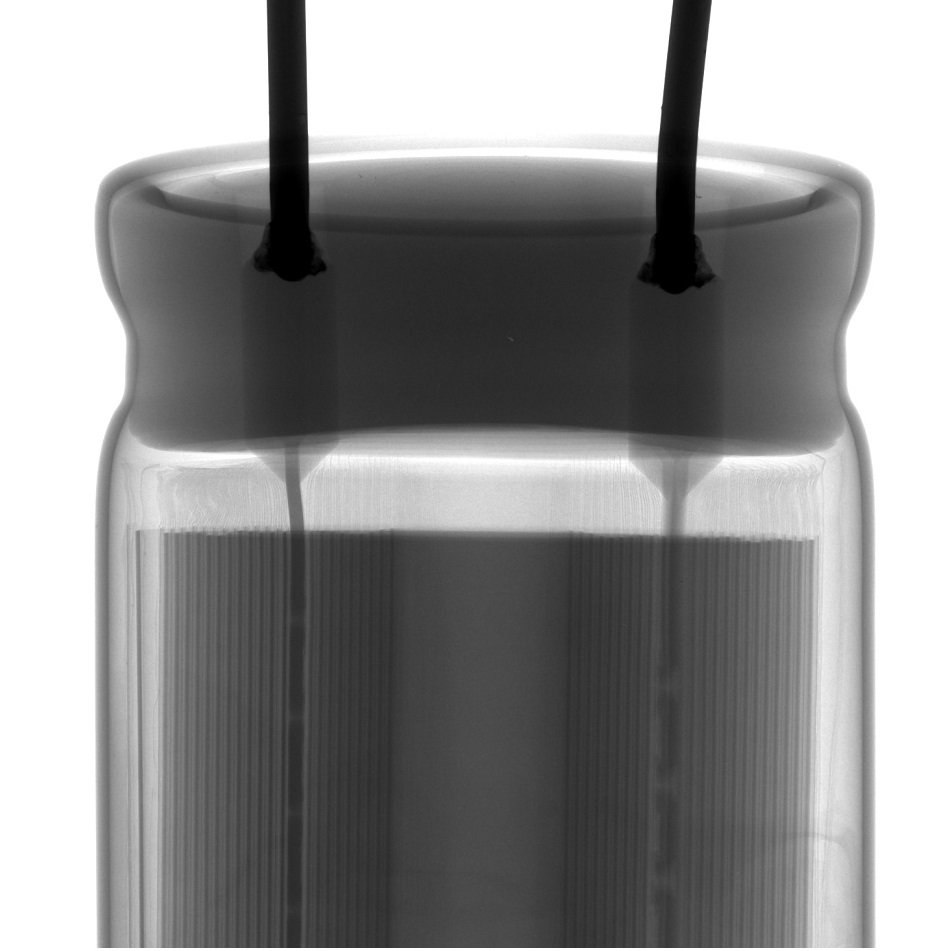
Capacitor
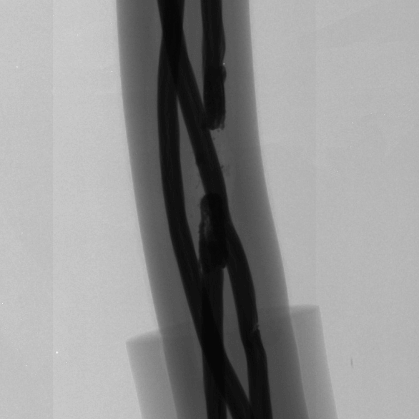
Cable
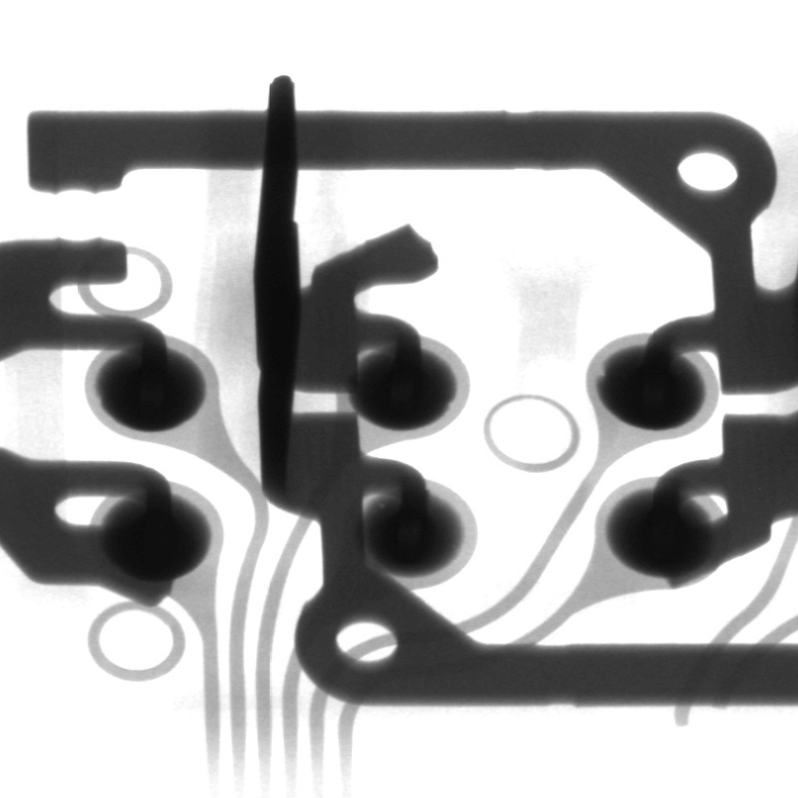
Automobile Electronics
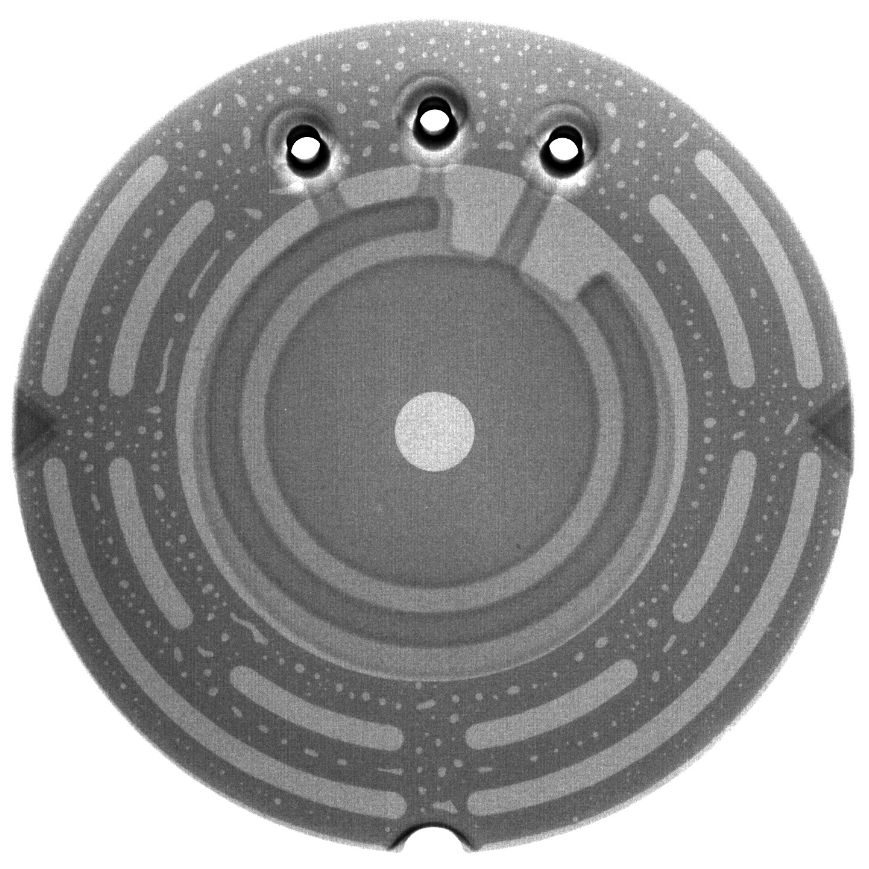
Sensor
X6800 X-ray Inspection System Features:
- 40kv – 90kv closed type micro-focus closed x-ray tube(Hamamatsu), focal spot size down to 5µ
- HD digital flat panel detector (Rayence)
- 60° detector tilting for oblique angle viewing, x-ray image keep central while tilt.
- 530mm x530mm inspection area with 10kg load capacity
- Automatic navigation software provides easy positioning and identification of defects area.
- Adjustable 5 axis linkage system
- Quick inspection parameter settings, inspection area adjust.
- Inspection software provides access to create advanced inspection procedure for automated inspection in large quantities.
- Multifunctional measuring tools including BGA void detection and automatic calculations, radius, area, perimeter, measuring, repeat programming
- Industrial PC with Windows 7 PRO, 24” LCD flat panel display
- Low maintanance requirements
- 360° rotary sample jig support(optional)
1.X6800-Hardware-Parameters
| X-ray source | Brand | Japan Hamamatsu |
| Type | Closed, microfocus | |
| Max tube voltage | 90kV (100kV, 110kV, 130kV optional) | |
| Max tube current | 200μA | |
| Focal spot size | 5μm (4μm, 2μm optional) | |
| Function | Auto preheat | |
| Flat panel detector | Effective area | 130mm*130mm |
| Pixel size | 85μm | |
| Resolution | 1536*1536 | |
| Frame rate | 20fps | |
| Tiltable angle | 60° | |
| Table | Size | 530mm*530mm |
| Detectable area | 500mm*500mm | |
| Max load | 10kg | |
| Equipment | Magnification | Geometry 200X, System 1500X |
| Inspection speed | Max 3.0s/point | |
| Dimensions | 1360mm (L) * 1365mm (W) * 1630mm (H) | |
| Weight | 1350kg | |
| Power supply | AC110-220V 50/60HZ | |
| Max power | 1500W | |
| Industrial PC | I5 CPU, 4G RAM, 240GB SSD | |
| Displayer | 24" HDMI LCD | |
| Safety | Radiation leakage | No leakage, international standard: ≤1μSv/h |
| Lead glass observation window | Transparent lead glass window shields radiation to observe the inner status. | |
| Window and back door safety interlock | Once users open the window or back door, X-ray tube will power off immediately. When the window or back door is open, users can't turn on the X-ray. | |
| Electromagnetic safety switch | Lock once the X-ray is on, users can't open the observation window. | |
| Emergency stop | Next to the operation position, press to power off. | |
| Tube protection | User can't leave the software to if you don't close the X-ray tube. |
2.X6800-software-parameters
| Function module | Operation | Keyboard and mouse can finish all operations |
| X-ray tube control | Using mouse to click the X button can turn on or off the X-ray. The real-time tube voltage and current value will display beside, users can click up and down button, or drag the slider, or type to adjust. | |
| Status bar | Indicates the interlock status, pre-heat status, and X-ray status by flashing alternately red and green. | |
| Image effect adjustment | The brightness, contrast and gain of the image can be adjusted freely to achieve a satisfactory result. | |
| Product list | Users can save the inspection parameters such as Z-axis position, brightness, contrast and gain, and can directly call the parameters when inspecting the same product, to improve the inspection efficiency. | |
| Navigation window | After the camera takes a photo of the table, click anywhere in the photo, the table will move to the place you click and display on the screen. | |
| Motion axis status | Display real-time coordinates. | |
| Inspection result | The measurement results (voids rate, distance, area, etc., set by users) display in order. | |
| Speed control | The movement speed of each axis can be adjusted to slow, normal and fast. | |
| Voids rate measurement | Automatic calculation | Click on two points to determine a rectangle. The software automatically finds and measures the edge of the solder ball in the rectangle, the pad and the internal voids, and can get the data of the voids rate, the area of the solder ball, the circumference, the biggest void’s rate, the length and the width, and indicates NG or OK by red and green. |
| Parameters adjustment | Users can adjust the grayscale threshold, pixel, contrast, size filtering and other parameters to get accurate results of automatic calculation. | |
| Add voids manually | Users can draw a polygon or a free figure and calculate it as a void into the void rate. | |
| Save parameters | Users can save parameters such as grayscale threshold, pixel, contrast, size filtering and other parameters, and can directly call the parameters when detecting the same product, to improve the detection efficiency. | |
| Other measurement function | Distance | Click the A and B points to set as the baseline, then click the C point to measure the vertical distance from the C point to the baseline. |
| Distance rate | It is mostly used to measure the soldering rate of the through-hole. Set one more point “D” than the distance. Divide the vertical distance from the D point to baseline by the vertical distance of the C point, to obtain the percentage ratio of the vertical distance of D to C. | |
| Angle | Click the A and B points to set as the baseline, then click the C point to measure the angle between the BA and BC rays. | |
| Radius | It is mostly used to measure round components such as solder balls. Click three points to determine a circle and measure the circumference, area and radius. | |
| Perimeter | It is mostly used to measure square components, click two points to determine a square, measure the length, width and area. | |
| Automatic inspection | Manual setting | Users can set any positions on the table as inspection points, the software will automatically inspect and save the picture. |
| Array | For the regular inspection points, users only need to set two of the inspection points and the number of rows and columns, the software will automatically inspect each point and save pictures. | |
| Automatic identification | For inspection points with obvious features, the software automatically identifies the positions, takes measurements, and saves the image. |
All X-ray machines manufactured by Wellman meet the requirement of FDA-CDRH Regulation CFR 21 1020.40 Subchapter J for cabinet x-ray systems. The FDA – CDRH standard for cabinet x-ray systems states that radiation emission shall not more than. 5millirem a /hr.2″from any external surface. Our machines (X-Ray Radiation Level <1μSv/h ) are typically 5-10 times less emission than the international standards, so there are no radiation concerns for operators.
| Operation Safety | |
|---|---|
| Radiation Leakage | No leakage, international standard: ≤1μSv/h |
| Lead Glass Observation Window | Transparent lead glass window to shields radiation, safe to observe the inner status. |
| Window and Back Door Safety Interlock | Once open the window or back door, the X-ray tube will power off immediately. When the window or back door is open, the operator cannot turn on the X-ray. |
| Electromagnetic Safety Switch | Once the X-ray is on, the window will automatically lock, so the operator can't open the window. |

