Skip to contentNavigating SMT Inspection: A Comparative Exploration of AXI and AOI Technologies
In the dynamic realm of Surface Mount Technology (SMT), precision and efficiency play pivotal roles. As electronic devices become more sophisticated, ensuring reliable quality control processes becomes increasingly imperative. Among the crucial tools in the SMT industry, Automated X-ray Inspection (AXI) and Automated Optical Inspection (AOI) emerge as indispensable technologies. This article aims to unravel the distinctions between AXI and AOI, shedding light on their distinct capabilities and applications.
AXI Unveiled: Unraveling Depths with X-ray Precision
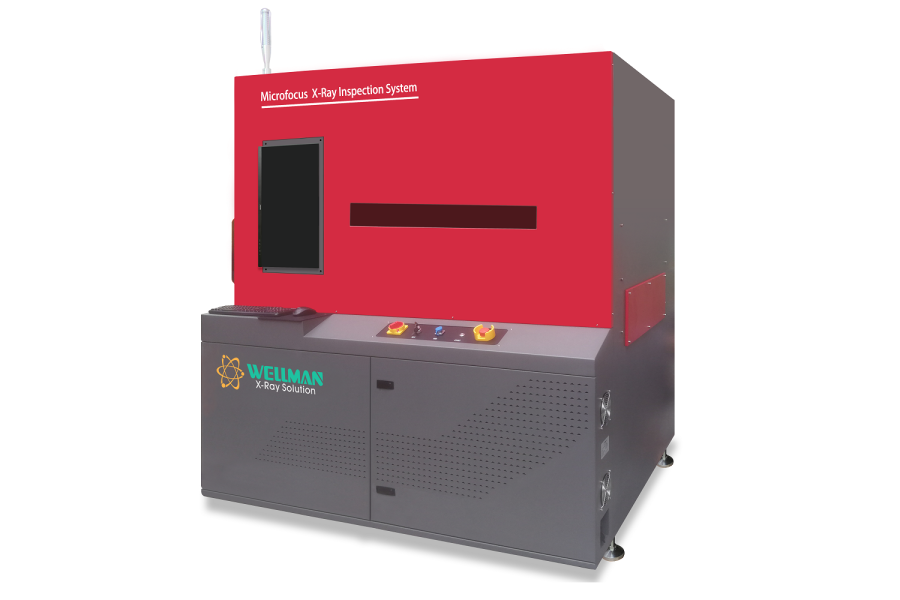
Automated X-ray Inspection (AXI) stands as a state-of-the-art technology operating on the principles of X-ray imaging. In stark contrast to optical methods, AXI can penetrate the surface of assembled electronic components, offering a comprehensive view of internal structures. This non-destructive testing technique proves invaluable for inspecting concealed joints, solder connections, and other critical elements that may elude optical inspection.
AXI’s X-ray capability grants it the prowess to assess the structural integrity of intricate assemblies with unparalleled precision. This encompasses inspecting components of diverse shapes, sizes, and orientations, providing a level of detail that proves challenging for alternative inspection methods. AXI excels at identifying defects such as voids, misalignments, and insufficient soldering, making a substantial contribution to elevating product reliability.
AOI in Focus: Optical Precision at its Zenith
In contrast, Automated Optical Inspection (AOI) relies on optical technology to scrutinize the external features of assembled electronic components. AOI systems leverage high-resolution cameras and advanced image processing algorithms to detect and analyze surface anomalies. This method proves highly effective in inspecting components visible to the naked eye, establishing it as an indispensable tool in the early stages of production.
AOI excels in identifying surface-related defects such as soldering issues, component misplacements, and other external discrepancies. Its swift inspection capabilities enhance throughput, rendering it ideal for high-volume manufacturing environments. Advancements in camera technology and image processing algorithms have elevated AOI systems, enabling them to deliver detailed and accurate inspection results, leaving no room for even the minutest defects.
Distinguishing Features: AXI vs. AOI
While both AXI and AOI share the overarching objective of ensuring electronic assembly quality, their methodologies and applications differ significantly. Let’s delve into the key distinctions that set these two critical inspection technologies apart:
Inspection Depth:
AXI excels in inspecting internal structures through X-ray imaging.
AOI concentrates on external features and surface conditions using optical technology.
Detection Capabilities:
AXI adeptly identifies defects within concealed areas, such as voids, misalignments, and insufficient soldering.
AOI specializes in detecting surface-related issues, including soldering problems, component misplacements, and visible anomalies.
Versatility:
AXI showcases versatility in inspecting components with diverse shapes, sizes, and orientations.
AOI efficiently inspects components visible to the naked eye, ideal for high-speed production lines.
Non-Destructive Testing:
AXI and AOI are both non-destructive testing methods, allowing thorough inspection without compromising component integrity.
Throughput and Speed:
AXI may have slightly longer inspection times due to its in-depth analysis.
AOI is renowned for rapid inspection, contributing to increased throughput in high-volume manufacturing.

Choosing the Optimal Inspection Tool
Selecting between AXI and AOI hinges on various factors, including specific manufacturing process requirements, the electronic components produced, and the desired level of inspection detail. Often, a hybrid approach integrating both AXI and AOI at different production stages proves beneficial, ensuring comprehensive quality control.
Manufacturers in industries demanding utmost precision frequently opt for this hybrid strategy, seamlessly incorporating AXI and AOI into their quality control processes. This approach facilitates a holistic inspection methodology, addressing both internal and external factors influencing overall electronic assembly quality.
Conclusion: Sailing through the SMT Inspection Landscape
In the ever-evolving landscape of Surface Mount Technology, the choice between AXI and AOI is nuanced. Each technology brings unique strengths to the table, contributing to a comprehensive quality control strategy. As electronic components advance in complexity, the synergy between AXI and AOI becomes increasingly critical, guaranteeing the reliability and functionality of end products.
Manufacturers navigating the intricate SMT inspection landscape must meticulously assess their specific needs and production requirements. By leveraging the strengths of both AXI and AOI, they can establish a robust quality control framework that not only meets industry standards but also propels them toward excellence in the competitive world of electronics manufacturing.


